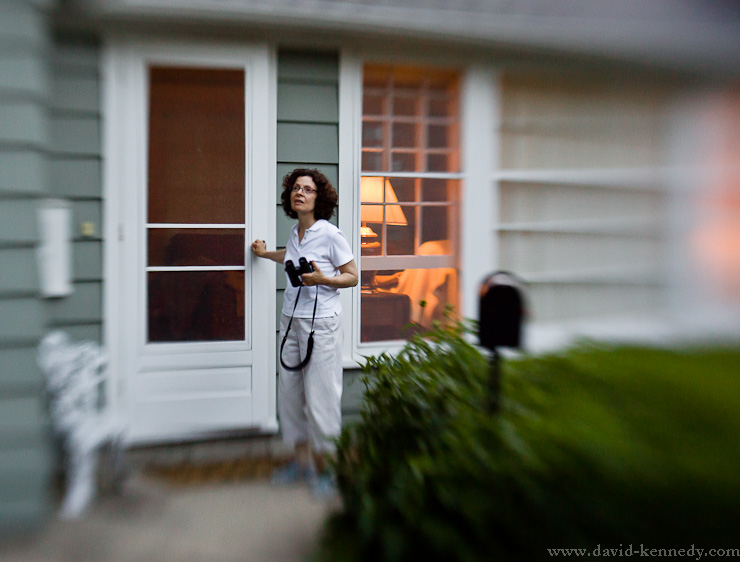
When you don’t want razor sharpness…
I am currently in the process of properly calibrating the focus on my Canon lenses using the LensAlign system I rented after some recent frustrations with back-focusing while using the Canon 7D and 400mm DO IS lens. At the same time, I am also experimenting with a Lensbaby Composer that I rented to round out the order. It offers the complete opposite of what I am seeking for my other lenses: fuzziness. In fact, its effect is akin to a zoom blur, only far more consistent in its results than zooming a telephoto lens while dragging the shutter could ever be!

One of the first things I noticed when using this lens is that its color rendition on my 5D Mark II left something to be desired. I was prepared for and expected to have fun with the highly-selective focus / blurry nature of the Lensbaby, but I did not want wonky color to be a part of the experience. As I wrote earlier this year, the X-Rite Colorchecker Passport can be an incredibly useful tool when a camera and lens combination is not yielding the kind of color that you expect. Have two bodies and want similar color? Profile both of them in the same lighting condition.
More after the jump!
In order to photograph the color chart I had to find a way to make it in relative focus (the X-Rite software does not require the test chart to be in sharp focus, but it can’t be “Lensbaby wonky,” either), so I stopped the lens down. That is to say, I dropped a black lock-washer labeled “8” (for f/8) down the front of the Lensbaby to expand the area of relative sharpness. Weird, but it works!

I made one image of the color chart in broad daylight–full-on afternoon sun–and another indoors, under incandescent lighting, to make a Dual-Illuminant profile. Such profiles are used by Adobe Lightroom and Adobe Camera RAW to “guess” what the colors should look like under not only those two lighting conditions, but everything in between.
After creating the profile and applying it (under “Calibration” in the “Develop” tab of Lightroom) I found the colors from the lens to be quite consistent with the other lenses I use on the 5D Mark II.
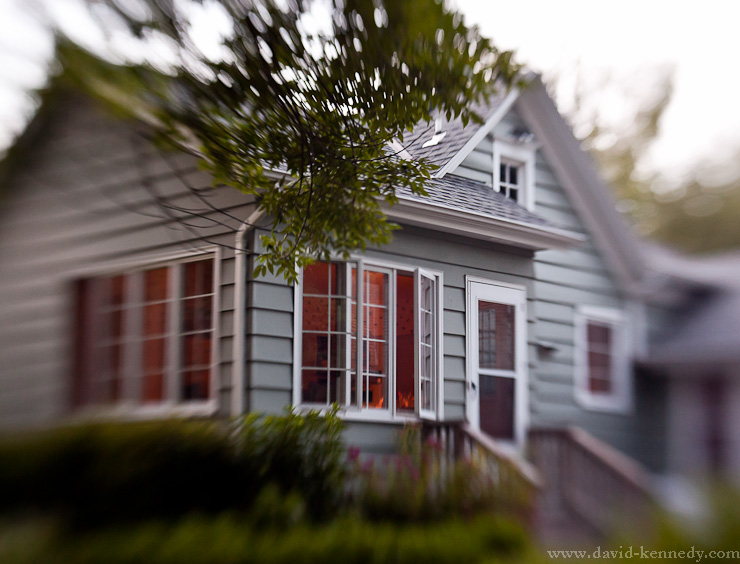
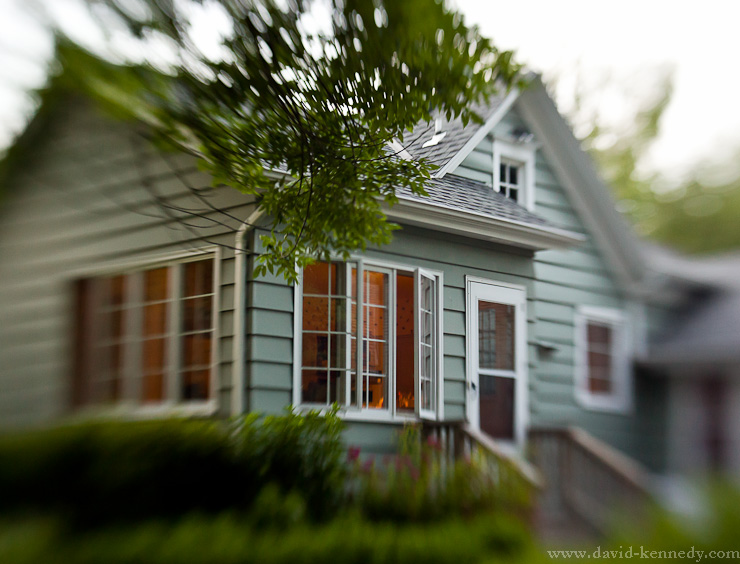
I then created a “Develop Preset” that only applied this particular profile, and use it for all images imported from the 5D Mark II using the Lensbaby Composer. Tweaking the color is something that one could correct for in other ways without the X-Rite test chart and software, but it would be more time-consuming. The image of the back of the house in which I grew up is a great example: the color shift is slight, but noticeable. Sure, you could accomplish the improved color (see full size below) in other ways, but this way it is automated and more importantly, it is consistent.

Oh, and what about the Lensbaby? Well, it’s interesting, although I’m not sure if it’s a tool that has a place in my bag. I need to tinker with it some more, and take it out into some more “real life” situations. The video through it is certainly interesting, although the effect may be a bit nauseating if there’s camera movement involved in a shot.
So while I’m not “sold”, this may not be the last time I tinker with a Lensbaby. I will say this: I have nothing like it. However, lots of photographers do, and I worry that it’s a look that could be over-used. But, like anything, if used in moderation it could be quite effective. Something to think about…

[…] my last post about the Lensbaby I was hesitant to recommend it. I will say that, after using the Lensbaby Composer some more, it does have a learning curve and […]