A Brief History of “Back-focus”
Last weekend I was at Horicon National Wildlife Refuge and experienced some focus problems with my Canon 7D heretofore non-existent, or so I thought. Upon reviewing photographs from the 7D from the past several months, I noticed that none of them were actually as sharp as they could have been. I attributed the softness to the lack of acutance in the files, and while I continue to believe that is an inherent property of cramming 18 megapixels into an APS-C format sensor, there was a real problem in play.
I didn’t want to believe that it could be a question of the camera “back-focusing” (or front-focusing) because I’ve grown to distrust people’s claims that their camera, and not their own inabilities, are to blame for their out-of-focus photographs. I don’t remember these claims from the film days. Perhaps I was just oblivious to the complaints, but I tend to believe that the instant feedback of the digital camera is partly to blame for the knee-jerk reaction that anything wrong with the pictures must be camera, not operator, error.
I will not mince words: ever since the Canon 10D and the Nikon D70, there’s been a lot of bitching and moaning in online forums about back-focused images, and I did not believe them. At all. Until now.
Now, I will argue that there is definitely operator error to blame in most many cases of complaints about back-focusing. Last weekend I was convinced that I must have chosen the wrong focus point or didn’t have the AF locked by holding in the rear button–some prefer AF to only be activated by using the back button, I prefer AF to only be turned off if I hold in the back–and allowed AI Servo (Continuous AF for Nikonians) to screw up the focus. To confirm my assumption, the next day I took test photographs in the garden around my parents house in Racine, Wis. and was shocked to discover that none of them were sharp. Sure, the wind was to blame in a couple cases, but even when conditions were perfectly still the results were poor, so I rented a LensAlign from Lensrentals.com to investigate whether front or back-focus was to blame.
And what did I find after I unpacked and set up the LensAlign? The 7D and the 5D Mark II both back-focused with the 400mm DO IS lens. Well, there goes the neighborhood. And a lot of preconceived ideas, with it.
Post continues after the jump!

Tools of the Trade
While the process of working with LensAlign is the subject of a future post, I will note that the setup involves establishing the proper distance from the LensAlign target based on a distance tool on the LensAlign Web site, properly aligning the camera and the target so that they are square to one another, and then taking a test photo (JPEG’s will suffice, thankfully) to load into Photoshop and, with the help of the Emboss filter, you can determine whether your camera back-focuses or front-focuses (or focuses perfectly) with a given lens. Both Canon and Nikon introduced AF Microadjustment in their cameras within the past few years, and you can then make a series of photographs of the LensAlign test chart while incrementally adjusting the AF Microadjustment. You then look at the test chart photos in Photoshop and pick the one that was the best, and apply that Microadjustment to your camera/lens.
While it takes about 30 minutes to get a lens/body combination set, the results are both surprising and stunning. My 16-35mm f/2.8L II lens turns out to be far sharper, especially wide-open, than I ever gave it credit for, particularly at the wide end of its zoom range. Suddenly, the Canon 7D and the 400mm f/4 DO IS lens seemed to talk to each other and the results were good. But what about moving targets?

So many settings, So little time
While the LensAlign focus calibration enabled my Canon 7D to be more accurate with my lenses, making critically-sharp action photographs involves more than proper focus alignment. You must take a trip to the Custom Function menu to set up the camera’s autofocus properly or else it won’t be able to track a moving subject (bird, football player, bicyclist, what-have-you) to save its silicon-based life.
To be frank, the Canon 7D’s custom function menu is a mess. This is true of Nikon and Olympus menus as well, I should note. I am an equal-opportunity critic of poor organization and confounding terminology among all of the major brands. Perhaps this is why I’ve found it so difficult to decide on settings for the 7D.
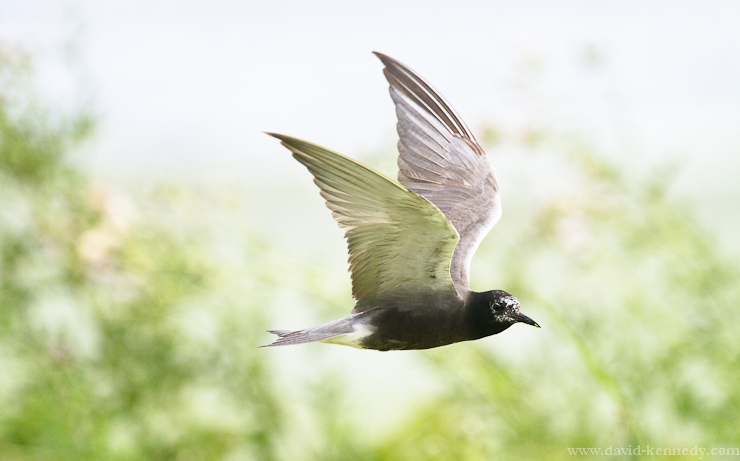
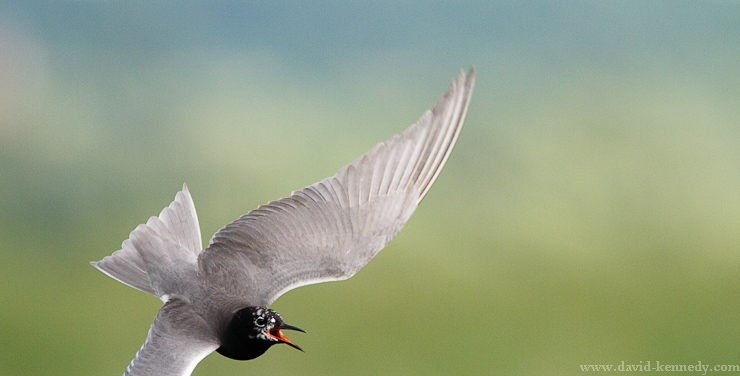
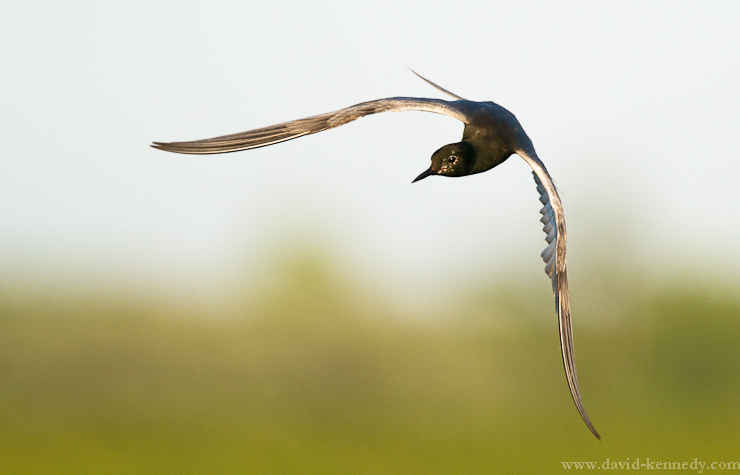
Ultimately, I found that making adjustments to several settings under the umbrella of the C.Fn III Autofocus/Drive menu helped to increase the frequency of in-focus flight photos of Black Terns at Horicon NWR.
- Option 1, AI Servo tracking sensitivity, should be set at slow. This prevents the camera from jumping focus from the bird flying in the air to the branches of the trees behind it. I have tried adjusting this all over the scale, and found that dead slow is the most reliable for my kind of work.
- Option 2, AI Servo 1st/2nd img priority, should be set to 0, the default. You don’t want to tell the camera to prioritize the drive, because that just means that it will take pictures even when nothing is in focus.
- Option 3, AI Servo AF tracking method should be left at the default, 0. For some reason, the alternative, “Continuous AF track priority” sounds good but behaves horribly. Go figure.
- Option 4, Lens drive when AF impossible should mostly be set to 1: Focus search off. This prevents the camera from “hunting” the focus (racking back and forth) to reacquire the moving target. Instead, it just stops and you can pan the camera and start focusing again on the subject that has likely remained on the same plane of focus as before. However, there are times when I get frustrated and turn on focus search. Your mileage may vary.
- the remaining options within the C.Fn III menu are best determined by you, and they affect less the reliability of the AF and more how you work the the machine

Conclusion
Once upon a time, I thought back-focus was a myth; how times change! Now I know that not only was the Canon 7D affected by focus alignment problems (mostly back-focus, but on some lenses it would front-focus), but my 5D Mark II was plagued by these issues as well. The result for my landscapes is even sharper results at larger apertures. For the 5D II, especially, it’s like having a new camera. I never thought much of its AF performance, but now I wonder how much of that opinion was based on poor lens focus alignment.
I will explain more about working with the LensAlign soon, but I will say now that it is an amazingly effective tool for calibrating the focus of your camera bodies and lenses.

Addendum
Later in the fall of 2010, Michael Tapes of Michael Tapes Designs offered to send me a LensAlign Pro for a more in-depth review, and in the winter of 2010/2011 a prototype and final production version of the LensAlign MKII that you can also read on this blog!

I still stand by my previous statement.
And as far as the auto-focus settings go, you really have to study them in depth, embrace them, and form good AF usage habits. It’s really a big personal change to make that requires quite a bit of dedication, patience, and determination!
I’ll admit, I haven’t even taken the time to study the different modes on my camera. Maybe, with some inspiration from this post, I’ll take some time in August to figure them out.
Very useful post sir, thanks for taking the time to write it up.