Food for thought

"Food for thought" double-exposure
"Food for thought" | Olympus PEN EP-2 and Olympus 17mm f/2.8 lens; exposed 1/30 sec. @ f/3.2, ISO 800. Double-exposure made in-camera.

Continued experimentation with the Olympus EP-2

It’s been a long time since I’ve played with multiple-exposures.  Sure, they’re easy enough to create by merging a couple of layers atop one another in Photoshop, but the unexpected and random nature of running a roll of film through a camera body twice was simply lost.  Well, it still is, unless you’re actually running a roll of film through a camera.

There are a lot of gimmicks in the Olympus PEN EP-2, chief among them is an entire dial mode for “art filters,” a library of goofy effects that can be processed in camera for those who don’t know how to produce identical effects in Photoshop.  Strangely, the only non-goofy, but still decidedly an “art” effect, is multiple exposures.  However, instead of being bundled with those art filters, it’s buried in the menu.  Go figure!  That said, when this little camera works, it does appear to work well.

More thoughts forthcoming.

Converting a Timbuk2 Commute 2.0 to a Discrete Camera Bag

The Idea:

A couple of weeks back, I was thinking about some of my experiences from earlier in the semester, such as photographing the True/False Film Festival, where I tried cramming a couple of spare lenses in my small messenger bag in lieu of my normal shoulder bag (which, frankly, screams “camera bag!”).  There are times when a traditional camera bag is fine–going to an assignment where I’m expected to come and photograph, for instance.  But what about those times when I just want to walk around on the street and carry an SLR and a couple of lenses, but not be “noticed” as a photographer.  Then, I stumbled upon Timbuk2’s own Web site where they explained how to use Domke inserts to transform one of their messenger bags into a viable and discrete camera bag.

Anyone reading this may wonder why not one of the new Think Tank “retrospective” bags, or even their “urban disguise” series, and the reason is that I wanted flexibility.  I want the option of pulling the inserts out of this bag, and using it as a normal messenger bag.

The Bag

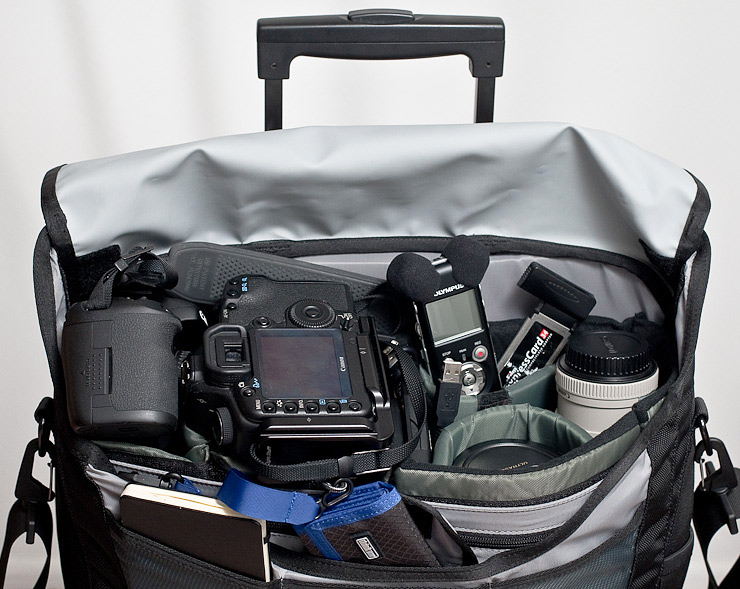
Last weekend, a local store in Columbia, Mo. had a 25% off sale on Timbuk2 messenger bags, and I chose a medium-sized Commute 2.0 to transform into a camera bag.  Unlike some other bags, it has a laptop pocket on the outside of the bag, and can be unzipped to lie flat, such as on the conveyor of an x-ray machine at the airport–I won’t have to remove my laptop for TSA any more!  Also, the bag has the ability to be slipped over the handle of a rolling suitcase (as photographed below).  This can be a tremendous advantage in an airport.

So, using the Commute 2.0 as the starting point, I purchased two Domke 720-210 “Standard Single Compartment” inserts, and a Domke 720-2JM “Adjustable” insert.

What can it fit?

Timbuk2 Commute 2.0 Camera Bag
Timbuk2 Commute 2.0 Camera Bag sitting on top of a rolling suitcase (the messenger bag has a slot to slip through the rolling bag

While I certainly wouldn’t load this bag like this for anything but travel–and even then, I’ve filled it to the gills, so there’s not even room for a book to read on the plane!–I was curious just how much I could carry if I wanted to cram it absolutely full.

So, what’s in the bag?

1. Canon 5D Mark II body with a 24-70mm f/2.8L lens mounted

2. Canon 7D body (no lens)

3. Canon 16-35mm f/2.8L II lens

4. Canon 70-200mm f/4L IS lens

5. Olympus LS-10 audio recorder

6. Two Western Digital Passport hard drives

7. Delkin Devices ExpressCard 34 CF memory card reader

7. Moleskine reporter’s notepad

8. ThinkTank Pixel Pocket Rocket memory card wallet

9. laptop & power cord

More on the PEN EP-2

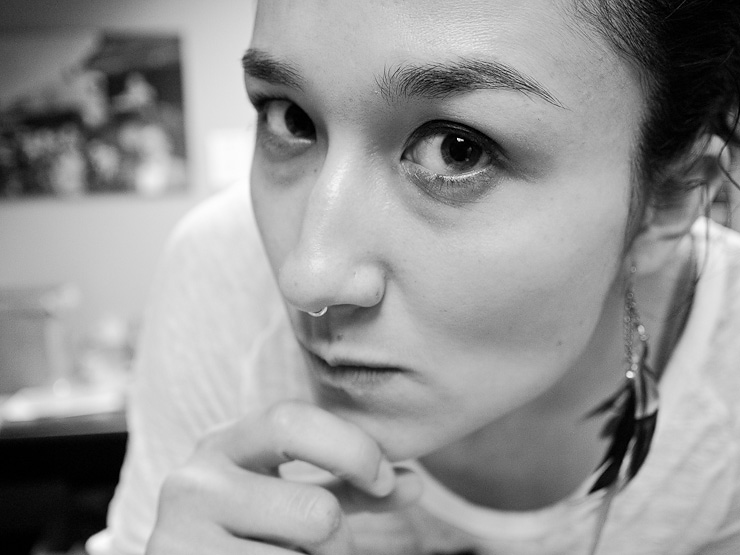
Mito - imitation is the sincerest form of flattery.
Mito - imitation is the sincerest form of flattery. | Olympus PEN EP-2 and 17mm f/2.8 lens; exposed 1/60 sec. @ f/2.8, ISO 800.

Over the next few days I’ll be using the Olympus PEN EP-2 in more “real world” situations than I have been able to of late, but you do learn a fair amount about how a camera works by carrying it around and photographing the things and the people around you.

One thing that I had already observed, but the EP-2 reinforces it, is that while I wish the 17mm f/2.8 pancake lens had a larger aperture, it is a sharp little lens, with well-controlled (minimal) chromatic aberration.  I’ve been known to borrow this lens and use it on my Lumix G1.  (Panasonic makes a 20mm f/1.7 pancake, but they want $400 US at the time of this post, which I feel is cost-prohibitive at this time.)

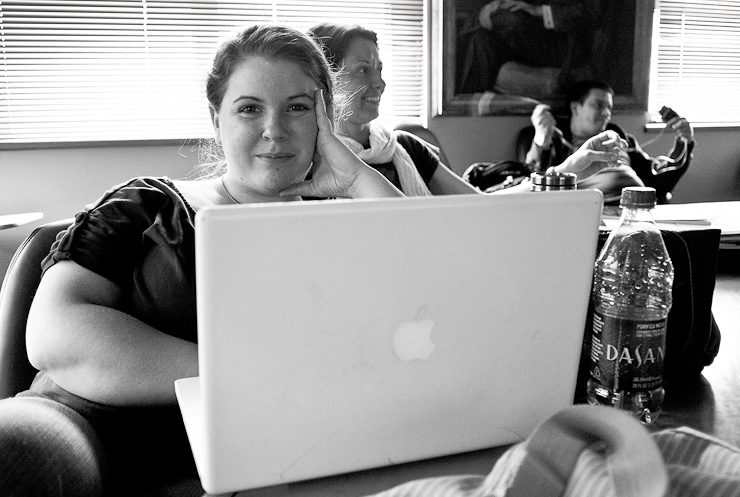
Jessica Cherry in our Picture Story and the Photographic Essay class
Jessica Cherry in our Picture Story and the Photographic Essay class | Olympus PEN EP-2 and 17mm f/2.8 lens; exposed 1/30 sec. @ f/2.8, ISO 400.

So far, the highest ISO I’ve used is 800, which is about as high as I ever put my Lumix G1.  That said, a number of people have been asking about its high ISO performance, and I will endeavor to find out in the coming days.  The camera can allegedly be set up to ISO 6400, but I am skeptical about the quality that could be yielded at such a speed.  Another reason for not going higher is that the camera has built-in image stabilization.  This means that I often have no worries going down to 1/30 sec. for a photograph of a person (as seen above and below), or even longer shutter speeds for pictorial and landscape settings.

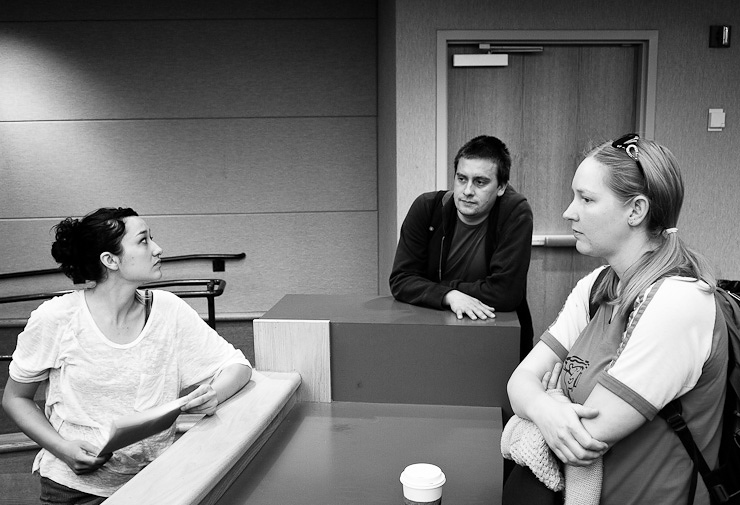
Mito, Calin, and Val
Left to right: Mito, Calin, and Val | Olympus PEN EP-2 and 17mm f/2.8 lens; exposed 1/30 sec. @ f/2.8, ISO 400.

Here’s looking at you, Olympus EP-2

David Rees peers into the Olympus EP-2 in wonder
David “Yoda” Rees peers into the Olympus EP-2 in wonder, Columbia, Mo. | Olympus EP-2 and Olympus 17mm f/2.8 lens; exposed 1/160 sec. @ f/2.8, ISO 100.

Two weeks ago, Olympus “Visionary” Jay Dickman spoke at the University of Missouri School of Journalism, and this week Olympus sent the photojournalism sequence a shipment of the PEN EP-2 as well as the PEN EP-L1.  This is an exciting development as the EP-2 was Olympus’ first Micro Four-Thirds camera to have an electronic viewfinder (EVF).  The original PEN lacked this feature, which I felt made it somewhat superfluous–a glorified point-and-shoot.  Now, with an EVF, the EP-2 is much more interesting (the EP-L1 can accept the same accessory viewfinder).

My “favorite” camera of late has been the Panasonic G1, which was actually the first of the Micro Four-Thirds cameras to come out.  I’ve posted many images over the past year and a half with that camera, and have loved its EVF, but the EP-2’s accessory viewfinder is the first I’ve seen that tops the G1.  And that, folks, is an accomplishment.

I’ll have more to say after I experiment with this machine in the coming days.

Testing another new toy: the 70-300mm DO

Mannequins gone fishin', Columbia, Mo.
Mannequins gone fishin', Columbia, Mo. | Canon 5D Mk. II and 70-300mm f/4.5-5.6 DO IS lens @ 115mm; exposed 1/160 sec. @ f/5, ISO ISO 250.

This past weekend, my parents came to visit me in Columbia and my dad brought with him his new 70-300mm f/4.5-5.6 DO IS zoom lens.  It’s the only other “diffractive optics” lens made by Canon–the other being the 400mm f/4 DO IS super telephoto that he and I co-own with Dad.  I’ve been curious about this lens for a while now, which is an obvious interest given that I have been more than impressed with the 400mm DO.

It’s an impressive zoom range: sure, there’s the 70-200mm f/4L IS lens that I already own, and combined with a teleconverter you would get the same zoom range, but that combination weighs 2.3 pounds (1.05 kilograms), whereas the 70-300mm DO weighs 1.6 pounds.  Add to that the cosmetic appearance of the lenses: the 70-200 is a white lens, and stands out in a crowd, but the 70-300mm’s only distinguishing mark is the green line around its barrel.  And why not the other 70-300mm lens?  The DO should be sharper, although I cannot do a side-by-side as I would need a 70-300 f/4-5.6 IS lens to test, but one thing is certain: it is more compact.

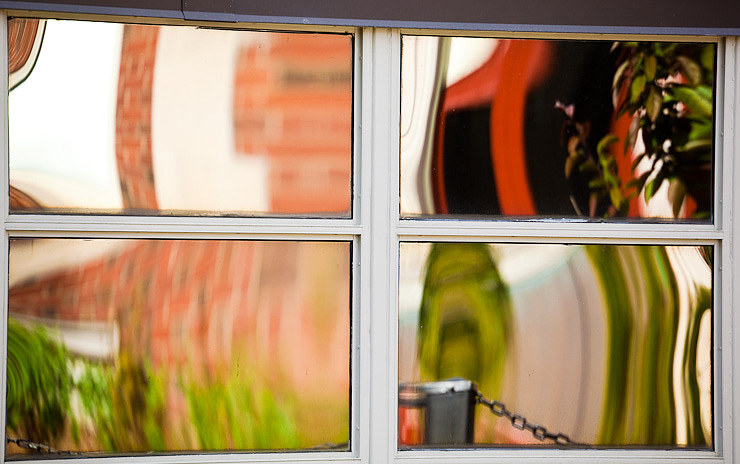
Gannett Hall reflections
Gannett Hall reflections, University of Missouri School of Journalism, Columbia, Mo. | Canon 5D Mk. II and 70-300mm f/4.5-5.6 DO IS lens @ 275mm; exposed 1/200 sec. @ f/8, ISO 400.

My time with this lens was relatively short, and the photographic opportunities somewhat limited, but I was pleased with the results that came from the lens.  Was it tack sharp every time?  Nope.  But it’s difficult to say how much of that was the 5D Mark II”s somewhat haphazard focusing abilities and how much was the lens?

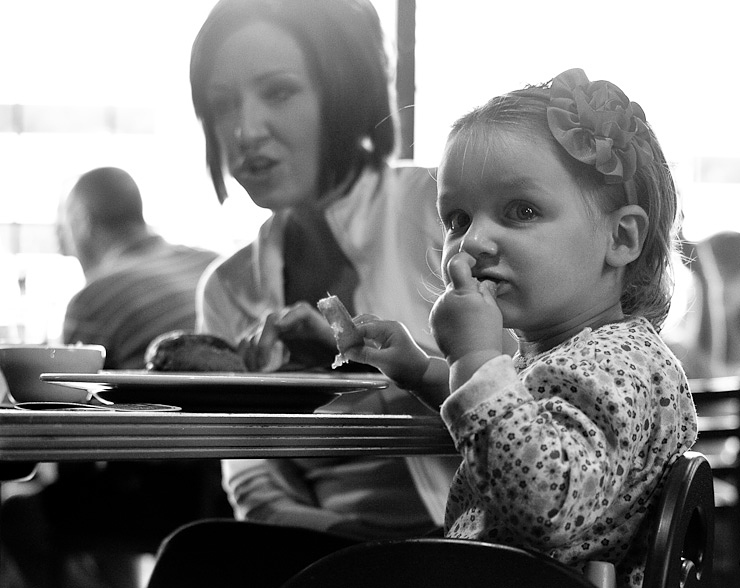
The exception to my personal "no photos of people eating" rule
The exception to my personal "no photos of people eating" rule: Flat Branch Pub and Brewery, Columbia, Mo. | Canon 5D Mk. II and 70-300mm f/4.5-5.6 DO IS lens @ 70mm; exposed 1/30 sec. @ f/4.5, ISO 1000.

What I can say is that, while this lens could never replace a dedicated 70-200 mm lens, I could easily see using this lens in lieu of its more “professional” cousin for travel photography because it’s smaller, lighter, and makes images that I would still be more than happy to frame or to sell.  Go to Europe and take this lens and the 35mm f/1.4L and you’d be set for street photography!

Putting together a multimedia slideshow

Monday evening, while working on my editing shift at the Columbia Missourian, I found myself helping Erin Schwartz, a fellow graduate student in the photojournalism program at the University of Missouri, who was putting together a multimedia picture story about Darwin Hindman’s last day in office as mayor of Columbia, which is now online.

I am continuing to evaluate the Canon 35mm f/1.4L lens, provided to me by Canon Professional Services, and I am frequently reminded of just how versatile this focal length can be, especially given the minimum focusing distance of one foot.

More tests of the 35mm f/1.4L & The Virtue of Safety Shift

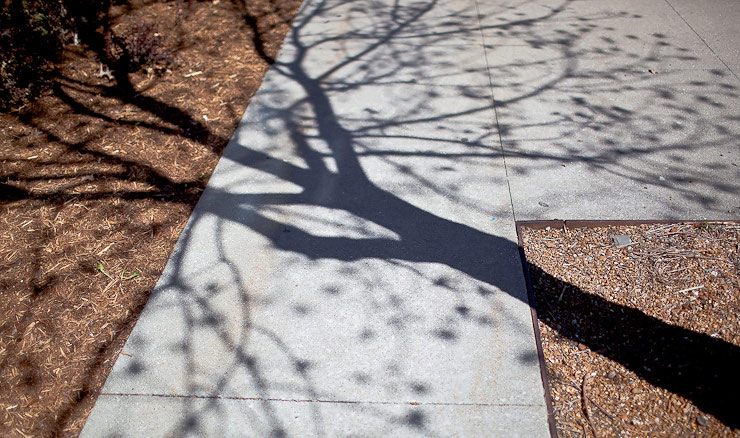
Shadows on the sidewalk
Shadows on the sidewalk, Columbia, Mo. | Canon 5D Mk. II and 35mm f/1.4L lens; exposed 1/8000 sec. @ f/1.6, ISO 100. Aperture Priority set at 0 EV.

The Problem

One of the issues that I have noticed before when using large-aperture lenses in broad daylight is that the perfect exposure can be difficult to achieve wide open.  While many of the people in the photo sequence at the Missouri School of Journalism set exposure manually, I have preferred working with aperture priority–coupled with evaluative (matrix) metering–for many years now.  It does require that you develop an idea of what the exposure for the scene should be relative to a “neutral” setting.  Generally, for outdoor photography, a neutral exposure on a sunny day (plus or minus one third of a stop) will yield an optimal histogram. Because I work in Aperture Priority, I am concerned more with the set aperture (preferably f/1.4 with this lens) and ISO.  This works well, unless the lighting conditions make the desired exposure compensation impossible with the selected aperture and ISO.

The Answer: Safety Shift

Today, I was keeping the ISO set to 100 because it was a bright, sunny day, and my shutter speeds were well above 1/1000 second.  Because of this, the importance of safety shift comes into play.  When this custom function is activated (C.Fn. I-6 on the 5D Mk. II) when the desired aperture and ISO would not yield the exposure compensation selected (in this case, neutral), the aperture is changed automatically to ensure that the exposure comp. set is the exposure that is yielded.  In the instance of the above photograph, the camera automatically switched the aperture to f/1.6 (a slight stopping down) because the shutter speed could not be any faster at the camera’s max. shutter speed of 1/8000 sec.

Note that while I am referring specifically to a Canon custom function, Nikon bodies have a similar feature.  Furthermore, the more professional bodies, such as the Nikon D3 and Canon 1D Mark III and Mark IV, are capable of safety shift by changing the ISO or the aperture.  In today’s case, that would have meant ISO 50, which is less than ideal as ISO 50 results in poor signal/noise response.  However, in some instances, it is better if the ISO is bumped or lowered instead of the aperture.

A few more images from the 35mm f/1.4L:

First Impressions: Canon 35mm f/1.4L

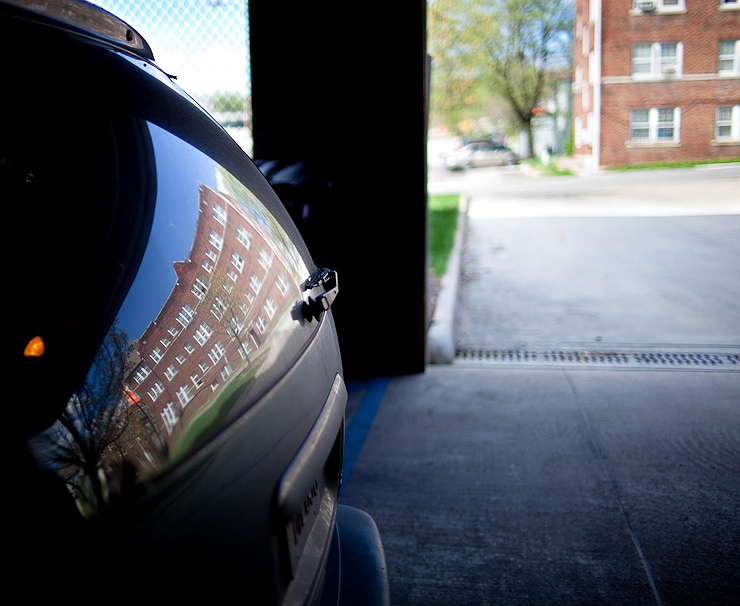
Parking garage reflection
Parking garage reflection, Hitt Street Parking Garage, Columbia, Mo. | Canon 5D Mk. II and 35mm f/1.4L lens; exposed 1/1000 sec. @ f/1.4, ISO 100.

On Wednesday, Canon Professional Services sent me a 35mm f/1.4L lens for evaluation.  I’ve become increasingly interested in three lenses: the 135mm f/2L, the 85mm f/1.2L, and the 35mm f/1.4L.  I had the opportunity to experiment with the 85mm last fall, and plan to try out the 135mm soon.  So far, I have been enormously impressed by the smooth bokeh.  One does not look at a lens such as this and stop it down to f/8 for landscape work–my 24-70mm f/2.8 does just fine for that purpose.  No, a lens like this is meant to be used wide open–or close to it–to isolate subject from background.  I’ll post more images in the coming days from this rather promising piece of glass.

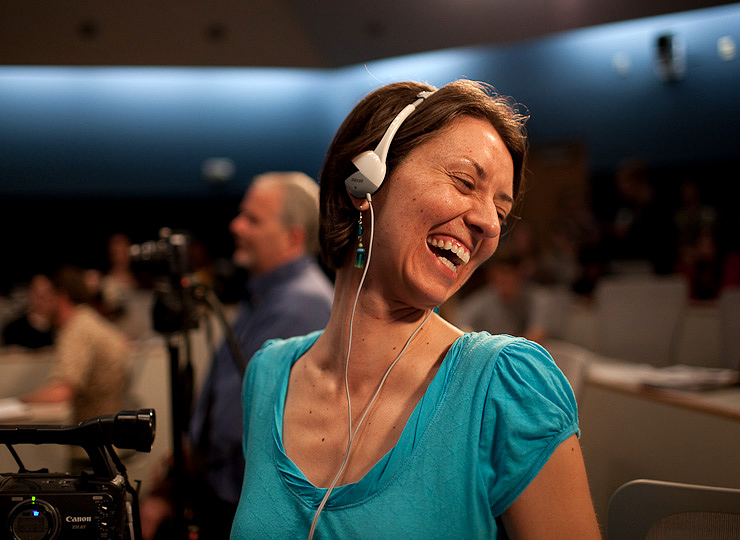
Lilly reacts at the Jay Dickman talk
Lilly reacts at the Jay Dickman talk | Canon 5D Mk. II and 35mm f/1.4L lens; exposed 1/250 sec. @ f/1.6, ISO 800.

5D Mk II Firmware 2.0.3 Released!

Change has come to the 5D II

The firmware that I referred to earlier this month that finally provides manual audio level control, as well as some other important features for video recording with Canon’s 5D Mark II camera body, was released the day after the Ides of March.

In addition to manual audio control (negating the need for something like BeachTek’s adapter unless one really needs XLR inputs), video is finally scaled back to 29.97 frames-per-second instead of 30 fps, meaning that it will be much easier to work with the 5D II in conjunction with traditional video cameras in the editing phase as the timecodes will match.

Also, 24 fps becomes an option, just as it was introduced on the 7D.

The New

Canon’s comprehensive list of changes is as follows:

  1. Adds or changes the following movie frame rates:
    • NTSC: 1920×1080 : 30 fps (changed – actual 29.97 fps)
    • NTSC: 1920×1080 : 24 fps (added – actual 23.976 fps)
    • NTSC: 640×480 : 30 fps (changed – actual 29.97 fps)
    • PAL: 1920×1080 : 25 fps (added – actual 25.0 fps)
    • PAL: 1920×1080 : 24 fps (added – actual 23.976 fps)
    • PAL: 640×480 : 25 fps (added – actual 25.0 fps)
  2. Adds a function for manually adjusting the sound recording level (64 levels).
  3. Adds a histogram display (brightness or RGB) for shooting movies in manual exposure.
  4. Adds shutter-priority AE mode (Tv) and aperture-priority AE (Av) mode to the exposure modes for shooting movies.
  5. Changes the audio sampling frequency from 44.1 KHz to 48 KHz.
  6. Fixes a phenomenon where communication between the camera and the attached lens is sometimes interrupted after manual sensor cleaning. (This phenomenon only affects units with Firmware Version 1.2.4.)

Downloads

The new firmware can be downloaded from Canon’s Web site here: http://web.canon.jp/imaging/eosd/firm-e/eos5dmk2/firmware.html

Note also that a new copy of the instruction manual, as a PDF, is also available from Canon, and includes how one uses the new features of the latest firmware, including setting the audio levels.  The chapter on video recording begins on page 125 of the PDF file.

Parting Thoughts:

While the experience of working with the 5D Mark II for video production is markedly improved with this update, and exceeds the practical functionality introduced with the 7D, one thing is still missing from the equation: the ability to monitor the audio being captured by the camera.  Plugging in a set of earphones into the AV/Out jack simply leads to obnoxious buzzing.  The function of this port needs to be changed to allow for the photographer-cum-videographer to have total control over the situation.  Being able to set the levels is a great step in this direction, but it’s hard to know where to set the levels exactly when you can’t hear what’s being recorded until playback.

Oh, and Canon, please make a similar firmware update for the 7D with the audio control.  Right now, the 5D II will have to be my A-Roll camera, with the 7D as B-Roll, as it does not have the audio control that the 5D now sports.  But in the meantime, thanks for listening to our complaints suggestions.

Update 3/18/10:

Canon has acknowledged that there is a slight bug in the new firmware 2.0.3 that makes audio capture impossible if using one of the three custom (“C1,” C2,” C3″) modes on the mode dial.  From Canon:

Recently we have discovered a malfunction that occurs with Firmware Version 2.0.3, in which the manual recording levels for C1/C2/C3 are changed and the camera becomes unable to record audio if the power is turned off (or if Auto power off takes effect) after registering “Sound Recording: Manual” in the camera user settings.
We apologize very sincerely for the inconvenience, but we are going to stop making this firmware available for download. For customers who have already updated to the new firmware, when using the camera with the mode dial set to C1/C2/C3, please either set the sound recording settings to Auto.
We are currently preparing firmware that will correct this malfunction. As soon as those preparations have been completed, we will let you know on this Web site. In the meantime, we apologize for the inconvenience this represents, but please wait until the fixed firmware is ready.