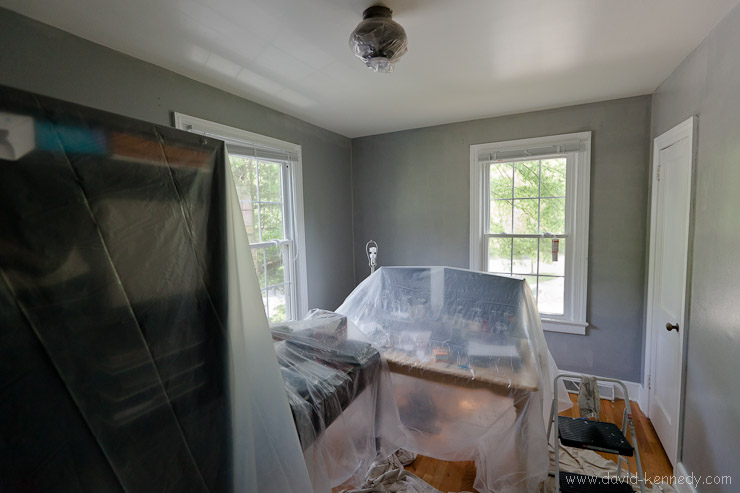
So things have been a bit quiet on the blog for a couple of weeks. I’m finally re-settled in my office after being temporarily displaced into the living room while lots of sanding, scraping, cutting, taping, and joint-compounding took place before a bucket of paint was splashed on the walls and a ceiling fan replaced a less useful light fixture.
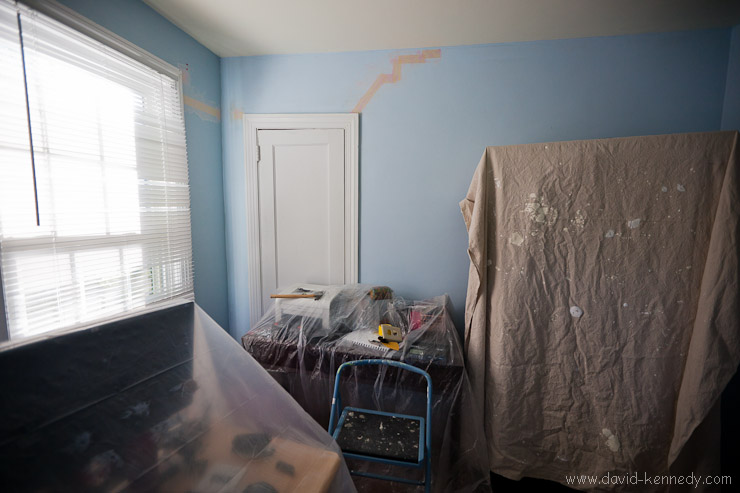
The office was originally a less-than-attractive shade of blue. Maybe the color would have made more sense in a house right on the Atlantic Ocean, but but the Piedmont of North Carolina, it just seemed out of place. I wanted a warm gray for the walls of my office, and after looking at a few samples I found “storm,” a Pottery Barn color offered at Benjamin Moore. The Faulconer Gallery at Grinnell College switched its walls from off-white to gray in my senior year, and while it was five years ago, I still remember how I thought artwork just “popped” right off the walls with that background color.

While Elizabeth worked on preparing the walls–sanding them and filling in the cracks in the drywall with joint compound and tape–I was busy in the attic with my Dremel 300 to cut away the original electrical box brace and install one rated for a ceiling fan. Cutting through 1/4 inch metal with the Dremel takes a few minutes and sends sparks flying everywhere so I recommend a face shield, but it works in close quarters much better than does a hack saw! After spending some time upstairs, I switched out the attachments on the Dremel and cut a larger hole in the ceiling for the electrical box.

Frankly, the biggest hurdle was keeping the Z3200 printer covered and out of the way. Unfortunately, since assembling it in the office in March, it is a “ship in a bottle.” We can push it into the hallway, but it cannot go further into the living room or kitchen without being removed from its stand!
It took an entire weekend to move (most) everything out of the second bedroom and remodel it for my purposes as an office, so the living room felt like a refugee camp for all of my stuff. But the cat didn’t mind too much so long as she could get in her beauty rest!

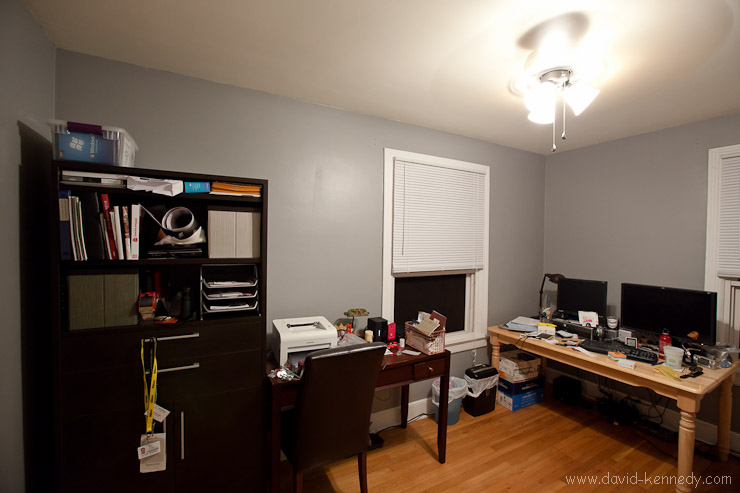
Here’s the office after finishing the paint and re-arranging the furniture:


[…] the celling, you might as well do the walls too. So, that’s what we did. Check it out over here. We like it. And, I am particularly happy that we no longer have to turn sideways and wiggle to get […]